decorative
Custom Planter
Image Posted on
A couple weeks ago I decided to use my terrain-making knowledge (such as it is) to create a planter for the annual NASC (North American Sarracenia Conservancy) auction.
I began the usual way, this time using some high-density insulation foam I found at Lowes:
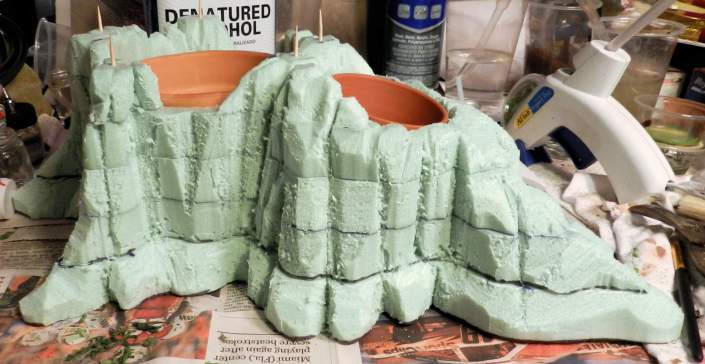
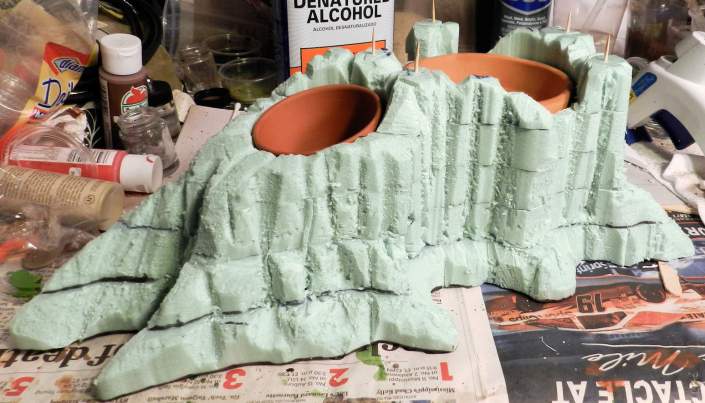

I cut out the profiles with my hot-wire router table, and did the rest with a simple steak-knife, carving out the large details and pinning the layers (4 in all) in place with toothpicks.
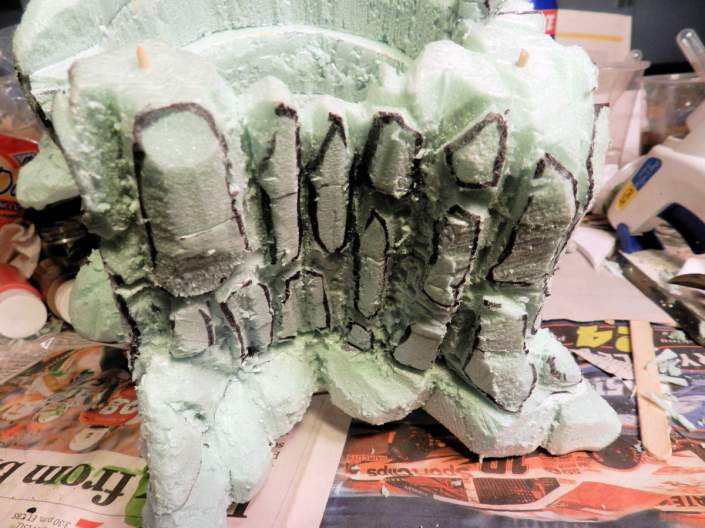
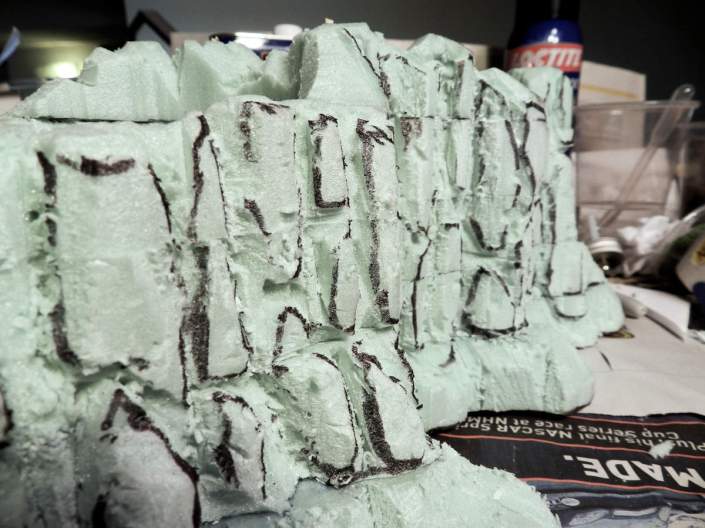
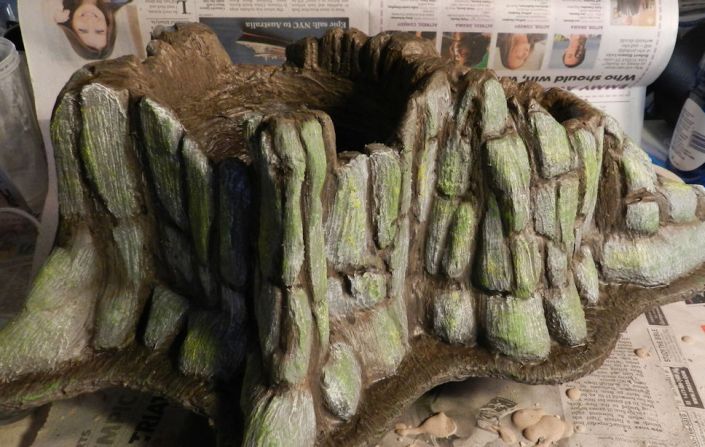
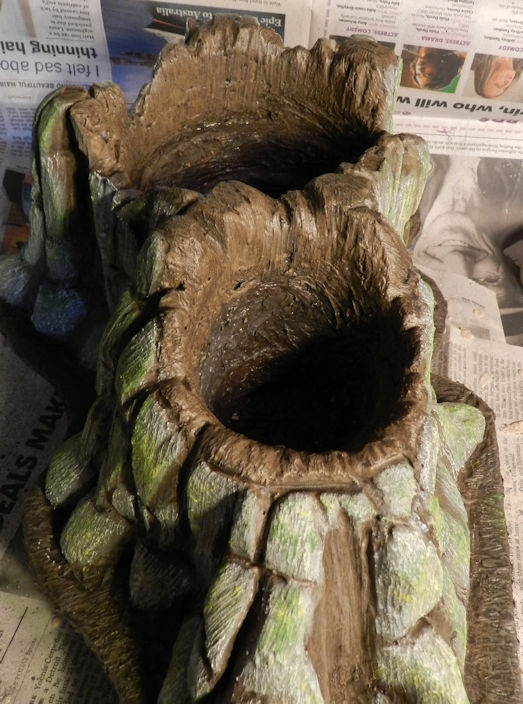
Then I looked up some reference images on google and drew a bark pattern on the outside with a sharpie, before taking to it with a steak-knife again to get the finer detail:
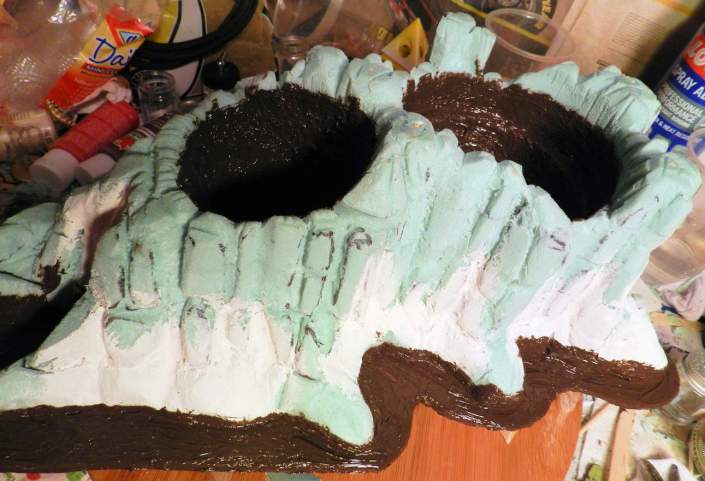
At this point, I glued the layers together with PVA, cut out a base of 1/4″ plywood, glued on with liquid nails, and sealed the plywood and the hollows with brown silicone caulk. The white texture you see is simply spackle, which I used to fill in any huge gaps or seams left over from the rough carving.
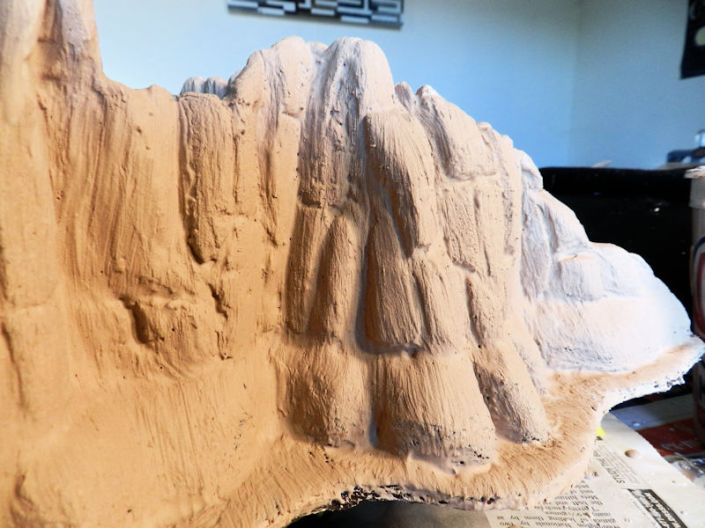
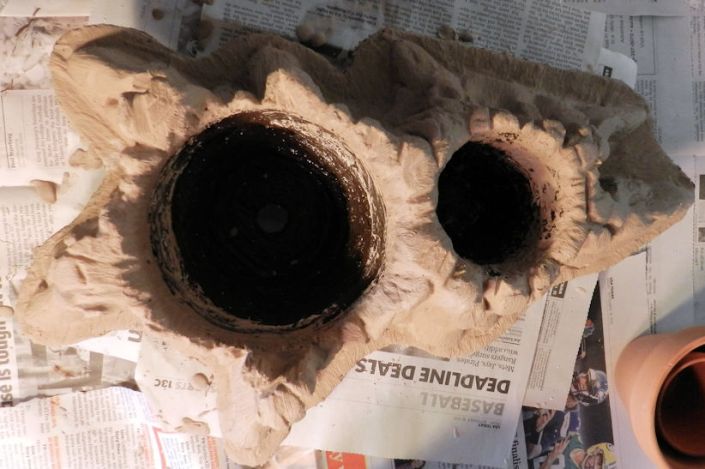
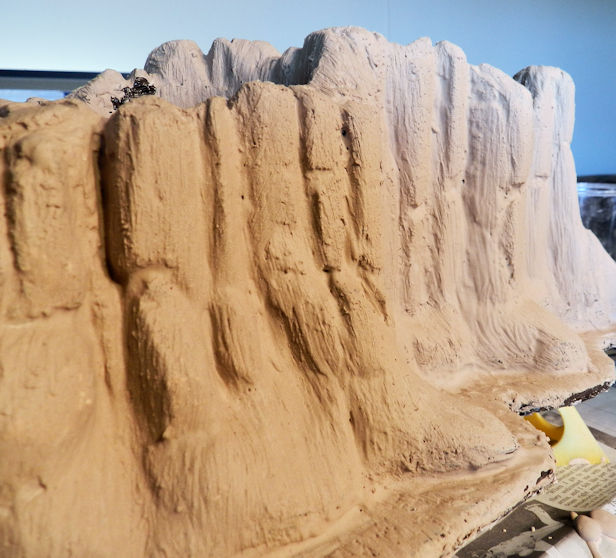
Then I proceeded to apply the plaster shell, to which I added some PVA (approx. 1/4 the water content) and some paint to tint it so that it wasn’t bright white.
After that had cured, it was onto the painting stage, again using my google reference image, to simulate tree-bark. Many layers of undercoats, washes, dry-brushing, and stippling later:

At which point I sealed the whole thing with three coats of brush-on Minwax Polycrylic which, even though water-based, is water-proof once fully-cured.
Sparkle Someone Else’s Eyes
Image Posted on

A spurious attempt at an honest photographic effort. Since I’m such a dunce manipulating my camera, I rattled off a bunch of shots with the intent of going through them later in photoshop. I did, however, get the effect I had intended, at least.
Making Shavings
Image Posted on Updated on
 I was waiting till I had something pretty between the spindles before I took pictures, so I made this simple little helper tool out of pinion earlier. It’s currently waiting for it’s second coat of oil before I lop off the ends and smooth them over with some light sanding.
  The bench itself was built from scratch by my dad, and came along with the lathe on Christmas day. Double bonus! It’s solid as a rock, too.
  A closer shot of my little helper tool. Just something to knock the burrs off my tools after I sharpen them. A little fancier than it needs to be, but who can resist when it’s so fun. :)
